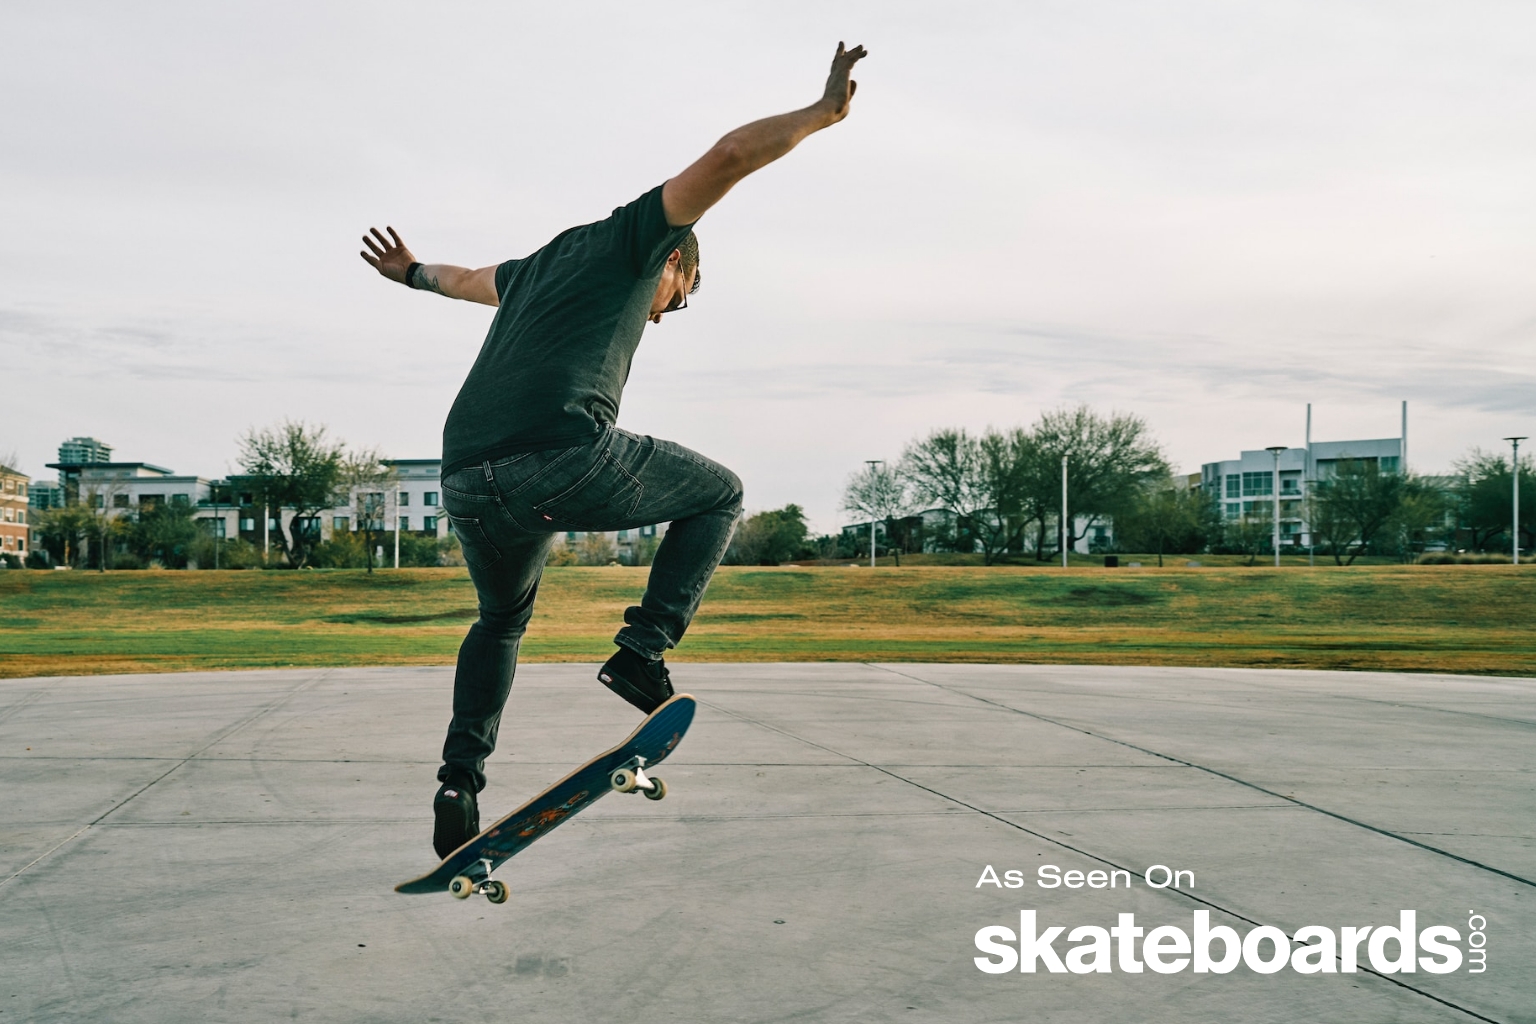
Whether you are a beginner skateboarder looking to improve your skills or an experienced rider wanting to take your tricks to the next level, mastering the Ollie is a crucial skill to have in your repertoire. The Ollie is the foundation of many other skateboard tricks and is a fundamental element of skateboarding. In this comprehensive guide, we will break down the Ollie step by step and provide you with tips and techniques to help you Ollie like a pro.
The Ollie is a skateboarding trick that allows the rider to jump and level out the skateboard in mid-air, enabling them to clear obstacles, gaps, and perform various tricks. To perform an Ollie, the rider pops the tail of the skateboard on the ground, slides their front foot up towards the nose of the board, and jumps in the air, leveling out the board by bringing their back foot up. The key to a successful Ollie is timing, coordination, and practice.
Step 1: Positioning
Before attempting an Ollie, make sure you have the proper stance and positioning on your skateboard. Stand with your feet shoulder-width apart, with your front foot angled slightly towards the nose of the board and your back foot on the tail. Your front foot should be positioned just behind the bolts on the skateboard, and your back foot should be on the tail with your toes hanging off slightly.
Step 2: Popping the Tail
To initiate the Ollie, you need to pop the tail of the skateboard on the ground by quickly snapping your back foot down. The key is to pop the tail down with enough force to generate upward momentum, propelling the board into the air. Practice popping the tail of the skateboard while keeping your front foot stationary.
Step 3: Sliding Your Front Foot
After popping the tail, slide your front foot up towards the nose of the board in a smooth and controlled motion. The front foot should slide diagonally along the grip tape, leveling out the skateboard and bringing it into the air. The timing of the slide is crucial for achieving height and leveling out the board.
Step 4: Jumping and Leveling Out
As you slide your front foot towards the nose of the board, jump in the air, bringing your back foot up to help level out the skateboard. Keep your knees bent and your body centered over the board to maintain balance and control. The key to a successful Ollie is to jump high and level out the board to land smoothly.
Step 5: Landing
As you reach the peak of your Ollie, prepare to land by bending your knees and absorbing the impact. Aim to land with both feet simultaneously over the bolts of the skateboard to ensure stability and control. Practice landing Ollies on flat ground before attempting them over obstacles or gaps.
Tips for Mastering the Ollie:
1. Practice consistently: Repetition is key to mastering the Ollie. Set aside time each day to practice and refine your technique.
2. Visualize the trick: Visualize yourself successfully performing the Ollie before attempting it. Mental preparation can help improve your focus and confidence.
3. Film yourself: Record your Ollies to analyze your technique and identify areas for improvement. This can help you pinpoint any errors and make adjustments accordingly.
4. Seek feedback: Skate with friends or mentors who can provide feedback and advice on your Ollies. Constructive criticism can help you pinpoint areas for improvement and fine-tune your technique.
5. Stay patient and persistent: Rome wasn’t built in a day, and neither is mastering the Ollie. Stay patient, stay persistent, and keep pushing yourself to improve.
In conclusion, mastering the Ollie is a challenging yet rewarding endeavor that can elevate your skateboarding skills to new heights. By following this comprehensive guide and implementing the tips and techniques provided, you can Ollie like a pro and take your skateboarding abilities to the next level. Remember to practice consistently, stay focused, and never give up. Happy skating!

